How to Use AI for Architecture Rendering: Complete Workflow Guide
Author: Architect AI Team
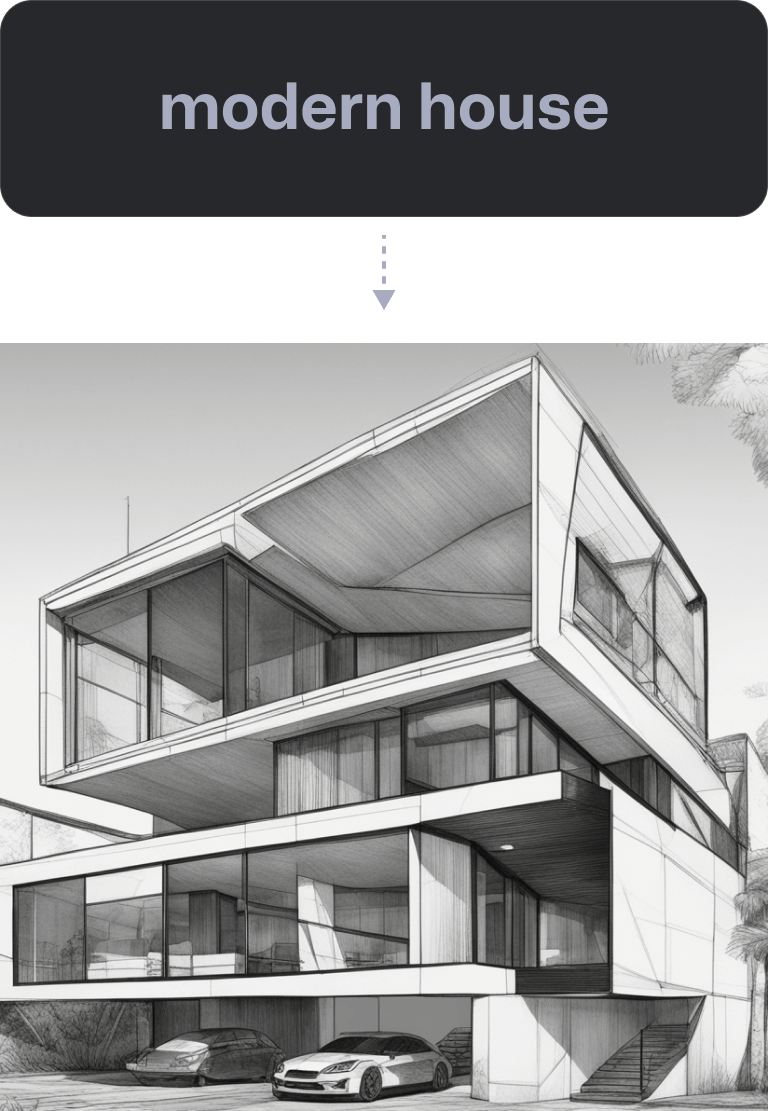
This comprehensive guide shows you how to integrate AI into your architecture rendering workflow. Whether you're a solo practitioner or part of a large firm, Architect AI makes it easy to go from sketch to photorealistic render in under 10 seconds.
Step 1: Prepare Your Input
Architect AI accepts multiple input formats:
• Hand sketches — Simply photograph or scan your sketch
• 3D model screenshots — Capture from SketchUp, Revit, Rhino, or any 3D software
• CAD screenshots — Export views from AutoCAD, ArchiCAD, or similar
• Building photos — Upload photos of existing buildings for renovation visualization
Step 2: Upload to Architect AI
No software installation required. Simply:
1. Visit ai-architect.net
2. Click "Try Free" or sign in
3. Upload your image (drag & drop or click to browse)
4. Wait 10 seconds for the AI to process
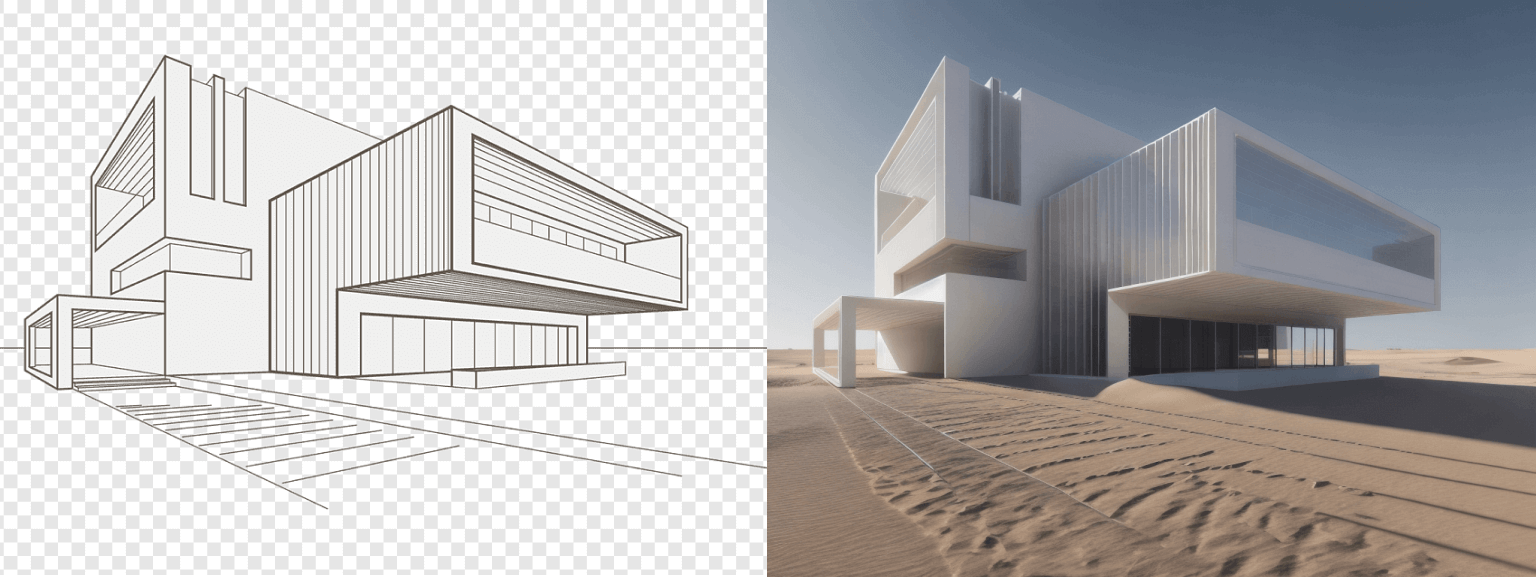
Step 3: Choose Your Style
Select from 20+ architectural style presets:
• Modernist — Clean lines, glass facades
• Zaha Hadid — Fluid, organic forms
• Neo-futurism — Cutting-edge, high-tech
• Renaissance — Classical proportions
• Brutalist — Raw concrete, bold geometry
• And 15+ more styles
Step 4: Customize Your Render
Fine-tune your output with these controls:
• Weather — Sunny, cloudy, rainy, snowy, golden hour
• Environment — Urban, suburban, rural, waterfront
• Materials — Glass, concrete, wood, metal, stone
• Landscape — Trees, gardens, hardscape, water features
Step 5: Download & Present
Your photorealistic render is ready in seconds. Download high-resolution images for:
• Client presentations
• Competition entries
• Marketing materials
• Design reviews
Real-World Workflow Examples
Example 1: Residential Project
Input: Hand sketch of a modern villa
Style: Modernist preset
Environment: Suburban, sunny
Output: Photorealistic exterior render
Time: 8 seconds
Example 2: Commercial Building
Input: SketchUp screenshot of office tower
Style: Neo-futurism preset
Environment: Urban, golden hour
Output: Photorealistic exterior render
Time: 9 seconds
Example 3: Renovation Project
Input: Photo of existing building
Style: Renaissance preset
Environment: Urban, cloudy
Output: Renovated building visualization
Time: 10 seconds
Pro Tips
• Higher resolution input = better output quality
• Clear sketches produce more accurate results
• Try multiple styles to explore design options
• Use environment controls for realistic context
Integration with Existing Workflows
Architect AI fits seamlessly into any architecture workflow:
• SketchUp users: Export viewport screenshot → Upload to Architect AI
• Revit users: Capture 3D view → Upload to Architect AI
• Rhino users: Screenshot perspective view → Upload to Architect AI
• Hand sketchers: Photograph sketch → Upload to Architect AI
Start Your AI Rendering Workflow Today
No installation. No setup. Just upload and render. Free trial available.
Try Free →